How to repair hydraulic hoses
Introduction:
Hydraulic cylinder hoses play a crucial role in maintaining the efficiency and performance of hydraulic systems. Over time, these hoses may experience wear, leaks, or damage, requiring timely repairs to avoid system failure. Repairing hydraulic hoses involves identifying the issue, cutting the damaged section, and replacing it with high-quality fittings or connectors. At Aisoar, a trusted manufacturer of hydraulic cylinders and systems, we provide comprehensive services, including repairs, ensuring our customers get durable and reliable solutions tailored to their needs.
Fixing hydraulic hoses is essential for maintaining safe and efficient hydraulic system operation. Here’s a step-by-step guide for identifying, repairing, and preventing hydraulic hose issues:
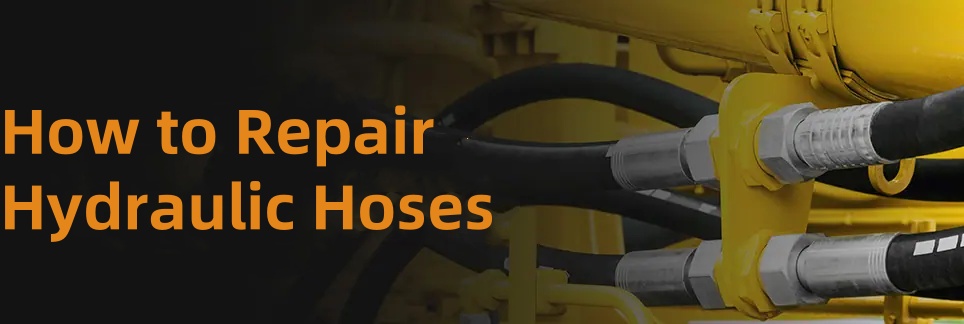
1. Identify the Problem
- Visual Inspection: Look for cracks, leaks, bulges, and wear along the hose surface. Pay special attention to fittings and connection points, as these are common weak spots.
- Check Pressure: Low or inconsistent hydraulic pressure can indicate a hose leak or internal blockage.
2. Prepare for Repair
- Safety First: Turn off the hydraulic system, release any stored pressure, and ensure the area is free from flammable materials.
- Gather Tools: You’ll need replacement hoses, fittings, a wrench, and a hose cutter. Ensure the replacement parts match the original hose specifications for pressure and size.
3. Remove the Damaged Hose
- Identify the Damaged Area: Inspect the hose to locate the damaged section that needs to be removed, whether it's a leak, crack, or a worn-out area.
- Cut Out the Damaged Section: If only the end coupling is defective, cut off the end of the hose where the leak is occurring. Otherwise, cut out the entire damaged area. Use a hose cutter to make a clean, straight cut, which will help ensure a better seal when reconnecting.
- Clean the Cut End Thoroughly: After cutting, clean the area around the cut end to remove any dust, dirt, or debris. Hydraulic systems are sensitive, and even a tiny speck of dirt can contaminate the hydraulic fluid and damage internal components. Ensure both the hose ends and the fittings are spotless before continuing to prevent breakdowns and leaks.
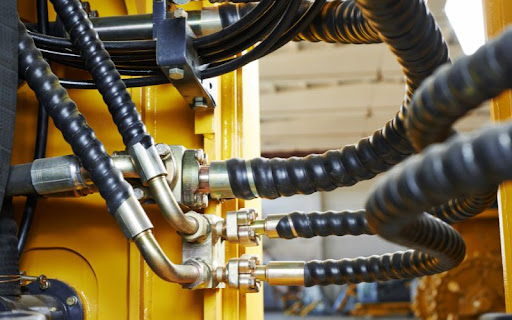
4. Install the New Hose
- Select and Inspect the New Hose: Ensure the new hose matches the original specifications, including pressure rating, length, and diameter, to maintain system performance. Inspect the new hose and its fittings for any signs of damage or contamination before installation.
- Attach the Hose Fittings: Align the new hose with the system’s connection points, ensuring the orientation is correct. Misalignment can lead to leaks and excessive wear. Connect the fittings by hand to avoid cross-threading. Once aligned, use a wrench to secure the fittings, following the manufacturer’s recommended torque specifications. Do not overtighten—this can strip threads or damage the hose.
- Secure with Clamps (if applicable): If the hose requires clamps for stability, secure them around the hose. Avoid excessive tightness, as this could restrict fluid flow or damage the hose material. Ensure clamps are positioned away from any areas of high friction or movement to prevent unnecessary wear.
- Check for Proper Routing and Clearance: Confirm that the hose is routed correctly and does not bend sharply or rub against other components. Hoses should have a natural curve with enough slack to accommodate movement without being overly loose. Make sure the hose is clear of any hot surfaces, sharp edges, or moving parts, which can cause abrasion or damage.
- Test for Leaks and Performance: Slowly restore pressure to the hydraulic system while carefully observing the new hose for any leaks or abnormalities. Gradual repressurize allows you to detect any weak points before full pressure is applied. Run the hydraulic system to ensure it’s operating smoothly and the new hose is functioning as intended, with no pressure drops, leaks, or other issues.
- Perform a Final Inspection: After testing, inspect the hose and fittings once more to ensure everything is secure and in place. Double-check the tightness of fittings and the placement of clamps. These detailed steps help ensure the new hose is installed correctly and securely, minimizing the risk of leaks or breakdowns in the hydraulic system.
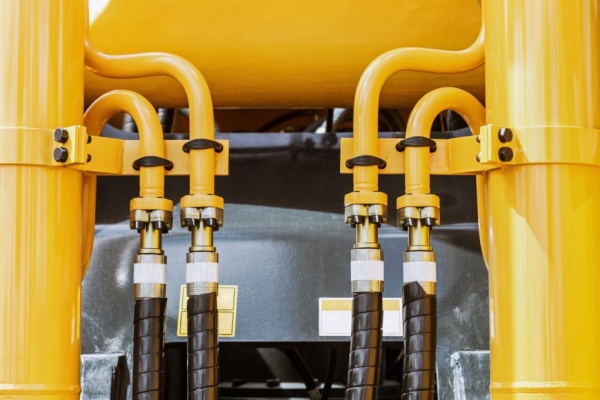
5. Check a hydraulic hose repair was successful
- Inspect the Connection Points: Visually examine all fittings and clamps to ensure they’re properly tightened and aligned. Look for any signs of looseness, misalignment, or visible damage.
- Gradual Repressurization: Slowly restore pressure to the hydraulic system. This gradual increase allows you to detect any weak spots in the repair without putting full strain on the hose immediately.
- Check for Leaks: Carefully observe the hose, fittings, and connections under pressure for any signs of leaks, such as fluid seepage or spraying. Pay close attention to the repaired section and ensure there is no dripping or wetness.
- Test System Performance: Operate the hydraulic system as usual to assess if it’s delivering consistent pressure and functioning smoothly. Monitor for any unusual noises, vibrations, or drops in performance that could indicate an incomplete repair.
- Final Inspection: After testing, perform a final inspection of the hose under operating conditions to confirm there are no leaks or other issues. This check ensures that the hose is secure, and the repair is holding up under normal use.
Conclusion:
Proper repair of hydraulic hoses extends the lifespan of your equipment and ensures uninterrupted performance. At Aisoar, we combine expertise with state-of-the-art technology to deliver efficient maintenance and repair services. Trust us to keep your hydraulic systems running smoothly and effectively, minimizing downtime and maximizing productivity.
AISOAR HYDRAULIC CYLINDERS
Hengxin Mansion, No. 588, Jiangnan Main Road, Changhe Street, Binjiang District, Hangzhou City, Zhejiang Province, China
TEL: +86-571-87920309
Email: sales@ai-soar.com
Website: https://www.aisoarhydraulics.com/

 ES
ES RU
RU

